Disney Survivor

Disney in June with two kids under 5 for 5 days and made it out alive! Just kidding but seriously it’s hot in Florida in June and Disney is packed! We took our two kiddos a baby and preschooler to Disney World along with 15 members of our family. By day 5 of Disney we were done. We did have fun though and learned some things along the way.

img_1120

Fast pass!

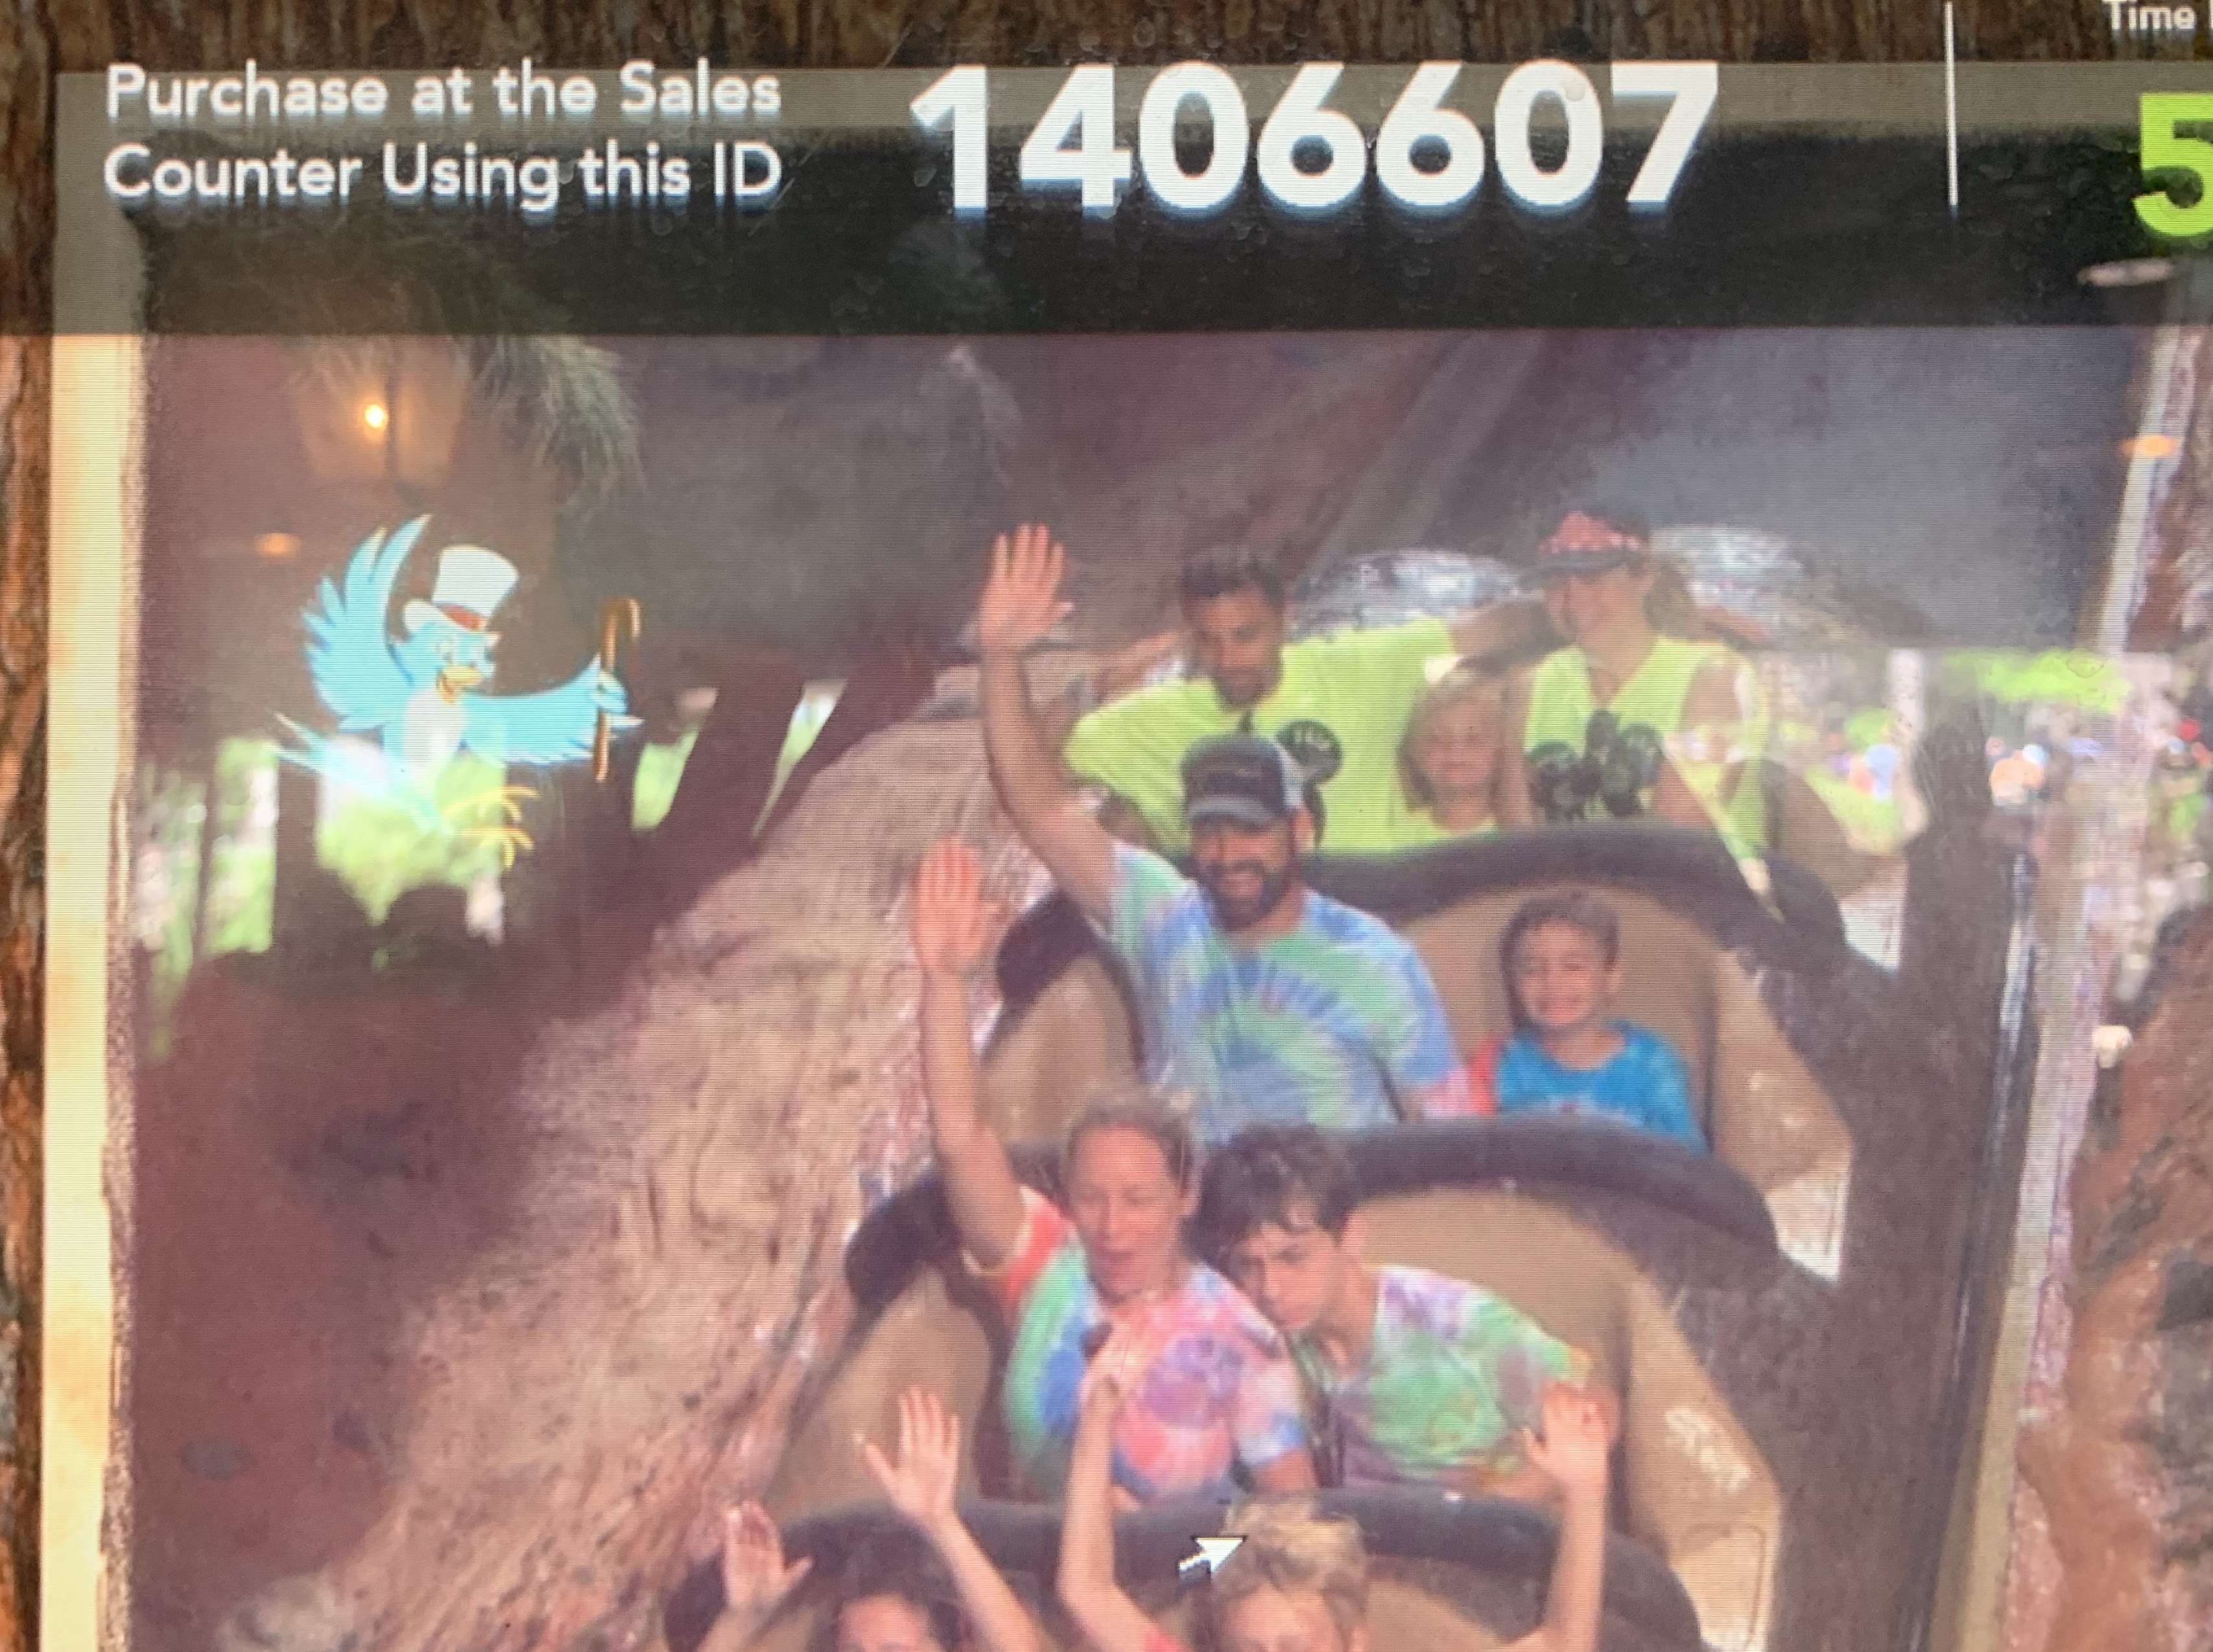
If we didn’t have a fast pass we didn’t ride it! To get a fast pass you need to download the “My Disney Experience” app, be sure to book 30-60 days ahead of the time you are going depending on where you are staying. If you are on a Disney property including Shades of Green you can book 60 days out. Rides like the new Avatar were booked 60 days out, we managed to get it but if we waiting we may not be able to. The lines were too long in most rides (up to 120 minutes) and the kids wouldn’t have it. Some regular lines did get down to 15-20 minutes if the ride wasn’t as popular in those cases we would wait. We made sure to get the parent swap on EVERY ride. The parent swap allows those waiting with the kids too little to go on the ride to ride the next go around, they went in the fast pass line and sometimes depending on the ride they had a special waiting area where they got on right after the prior parent(s) got off. The kids that went the first time got to ride again which was a hit.

img_1142

Wear Matching Shirts

Seriously, wear matching neon shirts! On days we all wore our matching shirts it was easier. We could all find each other when we split up and we were able to get on the rides easier. When you have 19 people sometimes fast passes and child swaps don’t work for all of us but when the staff seen we were together with the same shirt we had no problems. Not only were we easy to spot in a crowd but the characters would say hi to us by name since we had our last name on the back of our shirts, lol.

Stay Cool

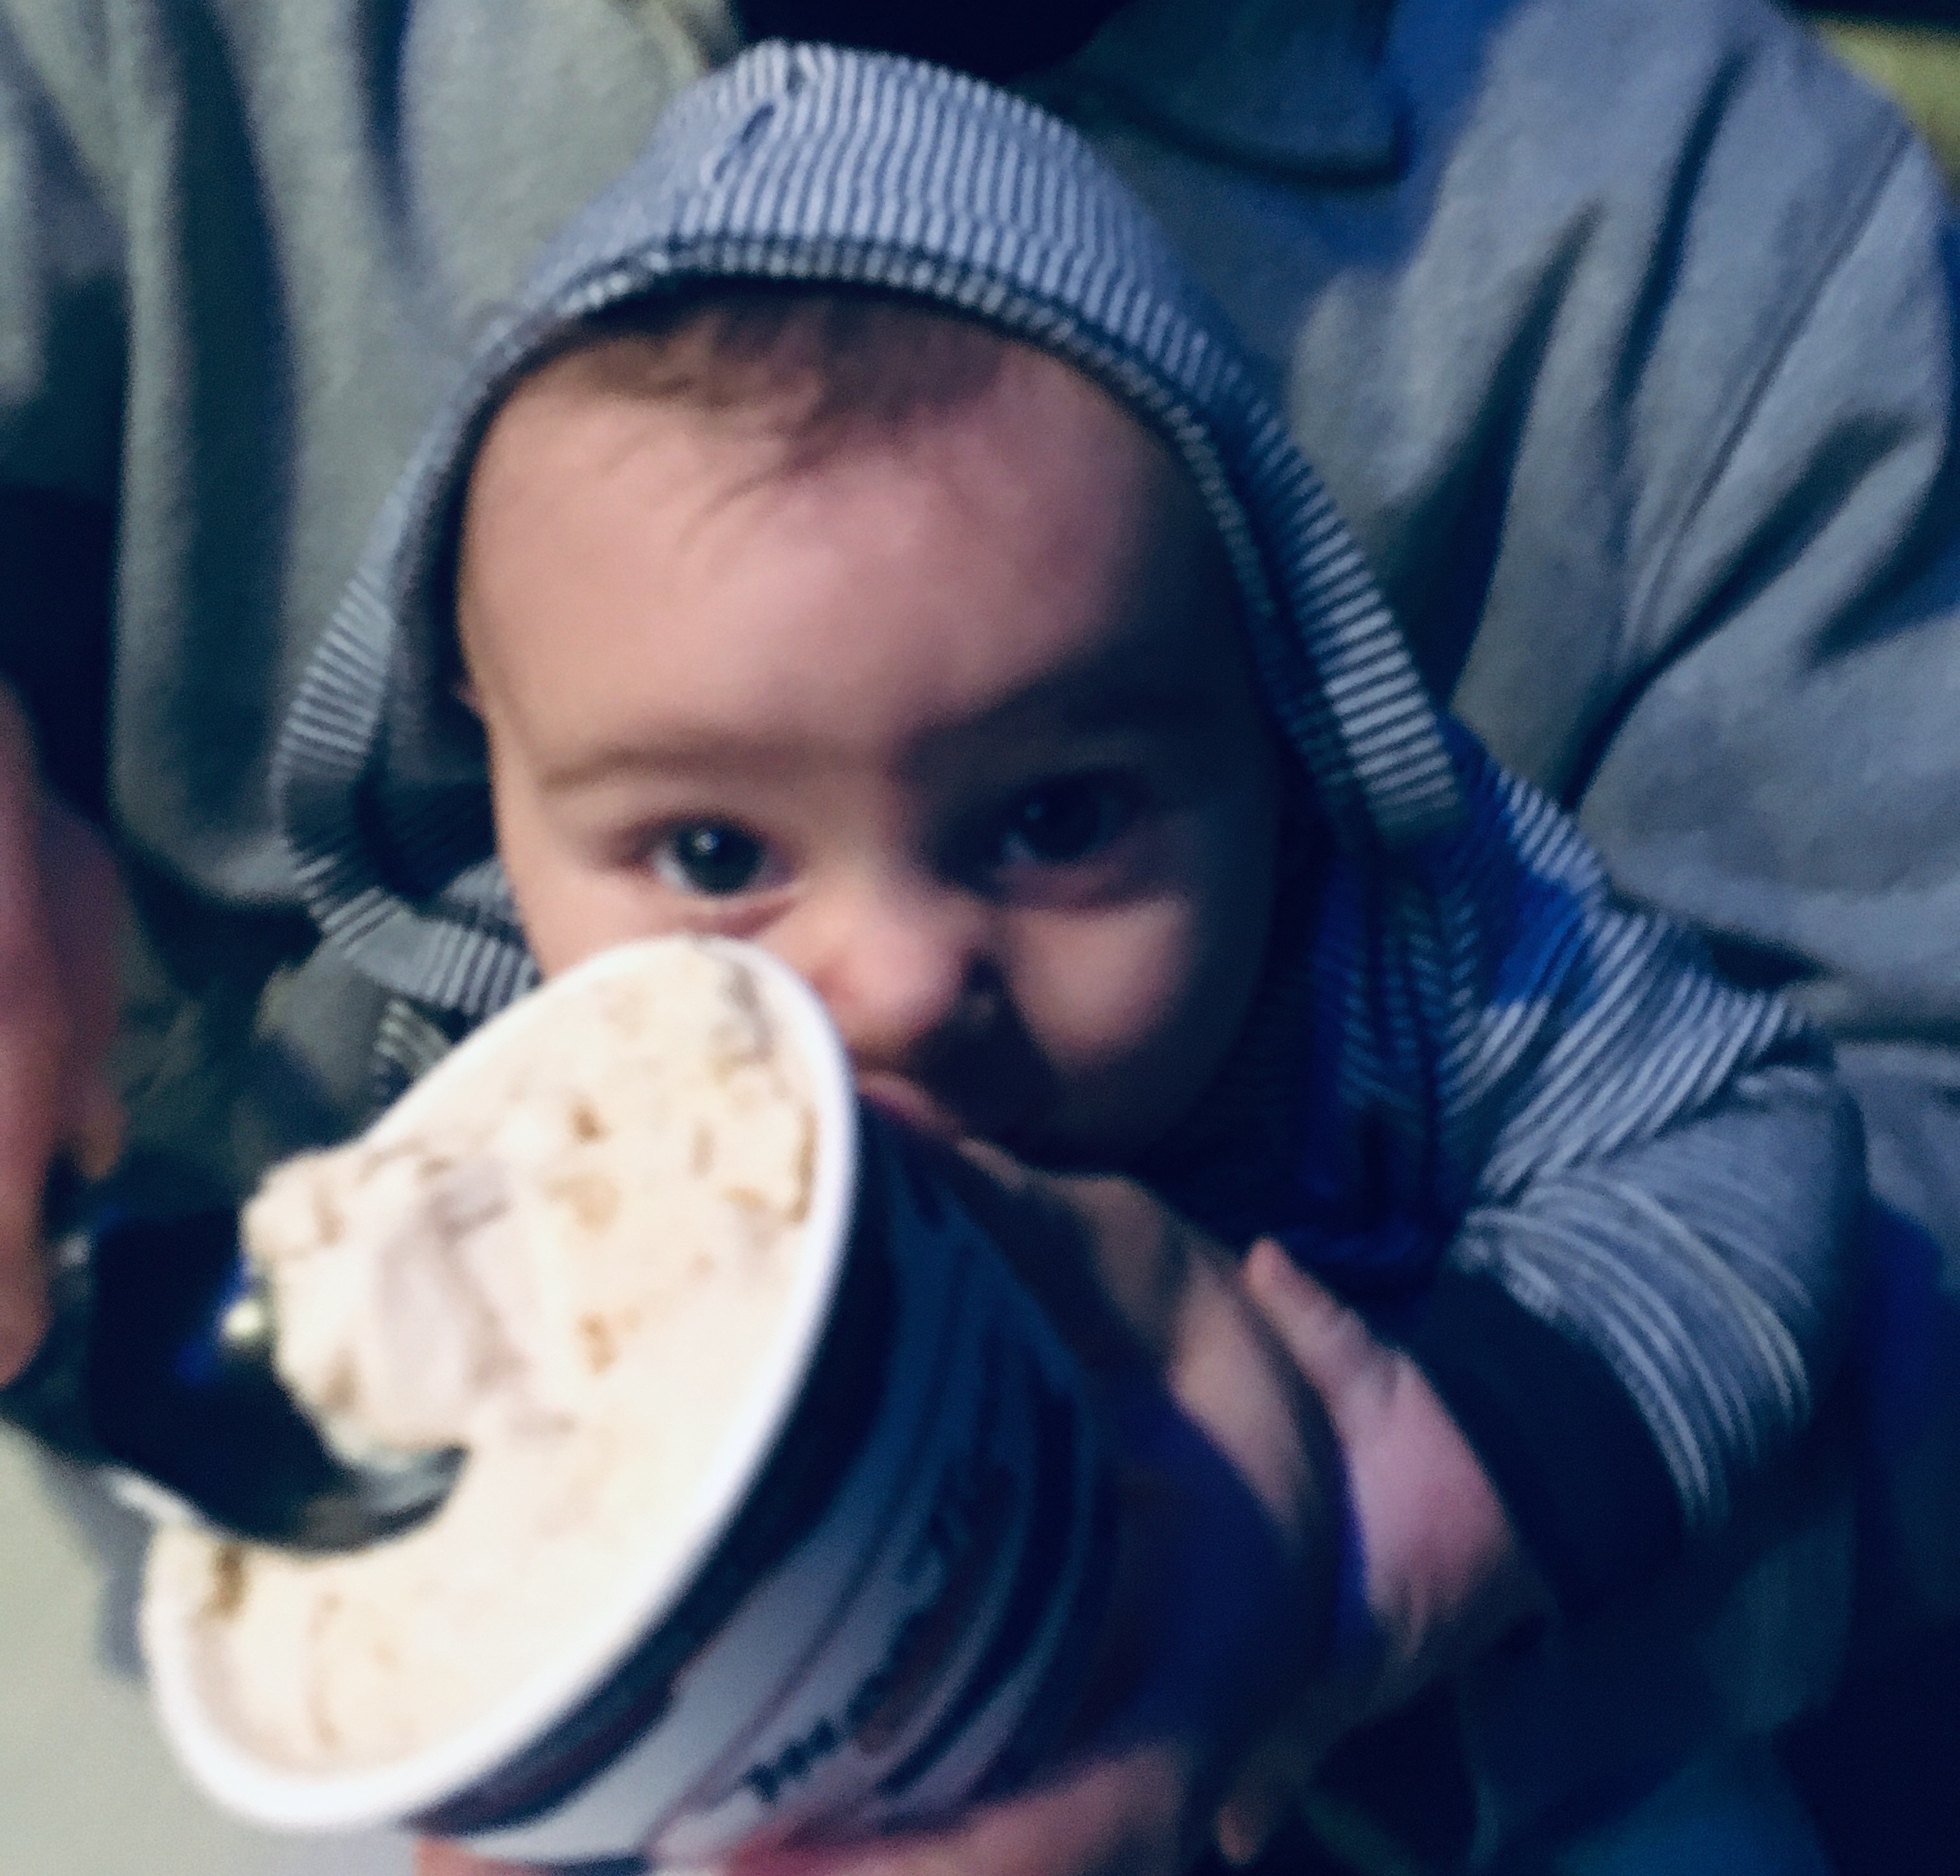
Babies in strollers in the Florida heat can get hot. Our solution: portable USB fans. We bought some $10 fans from Home Depot that had clips and USB port that we could attach a rechargeable battery port to. They lasted all day and the babies stayed comfortable. For the adults and older kids the Cooling towels helped you put them in cold water and shake them to get cool again.
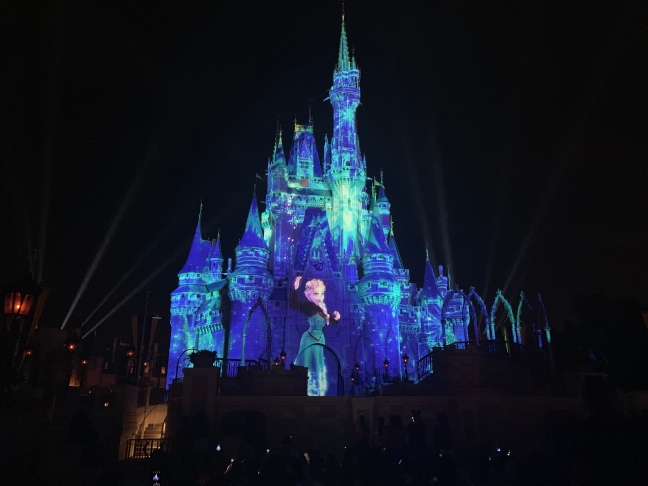
img_1161

See a show

Instead of trying to ride all the rides we explored other things like the shows, parades, characters and other sites. There are so many things at Disney to see and you can’t see it all in one trip. If you try to just enjoy the moment and not rush to everything you will all have a much more enjoyable trip.

Go to the Water Parks

It’s hard to plan a day ahead of time when the weather will be just right for a water park especially when you have to book fast passes 60 days out. What we did was have two days that were somewhat flexible, we booked fast passes in the evening since the water park closes at 6 pm. We did the Typhoon Lagoon water park one day and it was a blast. Not only was the crowd less but it was a more relaxed atmosphere. Kids could do pretty much all the water rides too.  We really wished we could have done Blizzard Beach as well but we didn’t have the time with visiting all the other parks at Disney. If we did Disney in the summer again we will definitely plan to do both water parks during the day or HOT hours and a different park in the evening or morning.

img_1199

Shades of Green

We stayed at the military resort Shades of Green which is considered a Disney property now. This is a huge benefit! Not only do you get Magic Hours but you can book those fast passes 60 days out. There was also a shuttle to all the parks. Just be sure to check the departure times when planning on leaving the resort and returning if you have plans such as fast passes or meals to get back to.

img_0502

Magic Hours

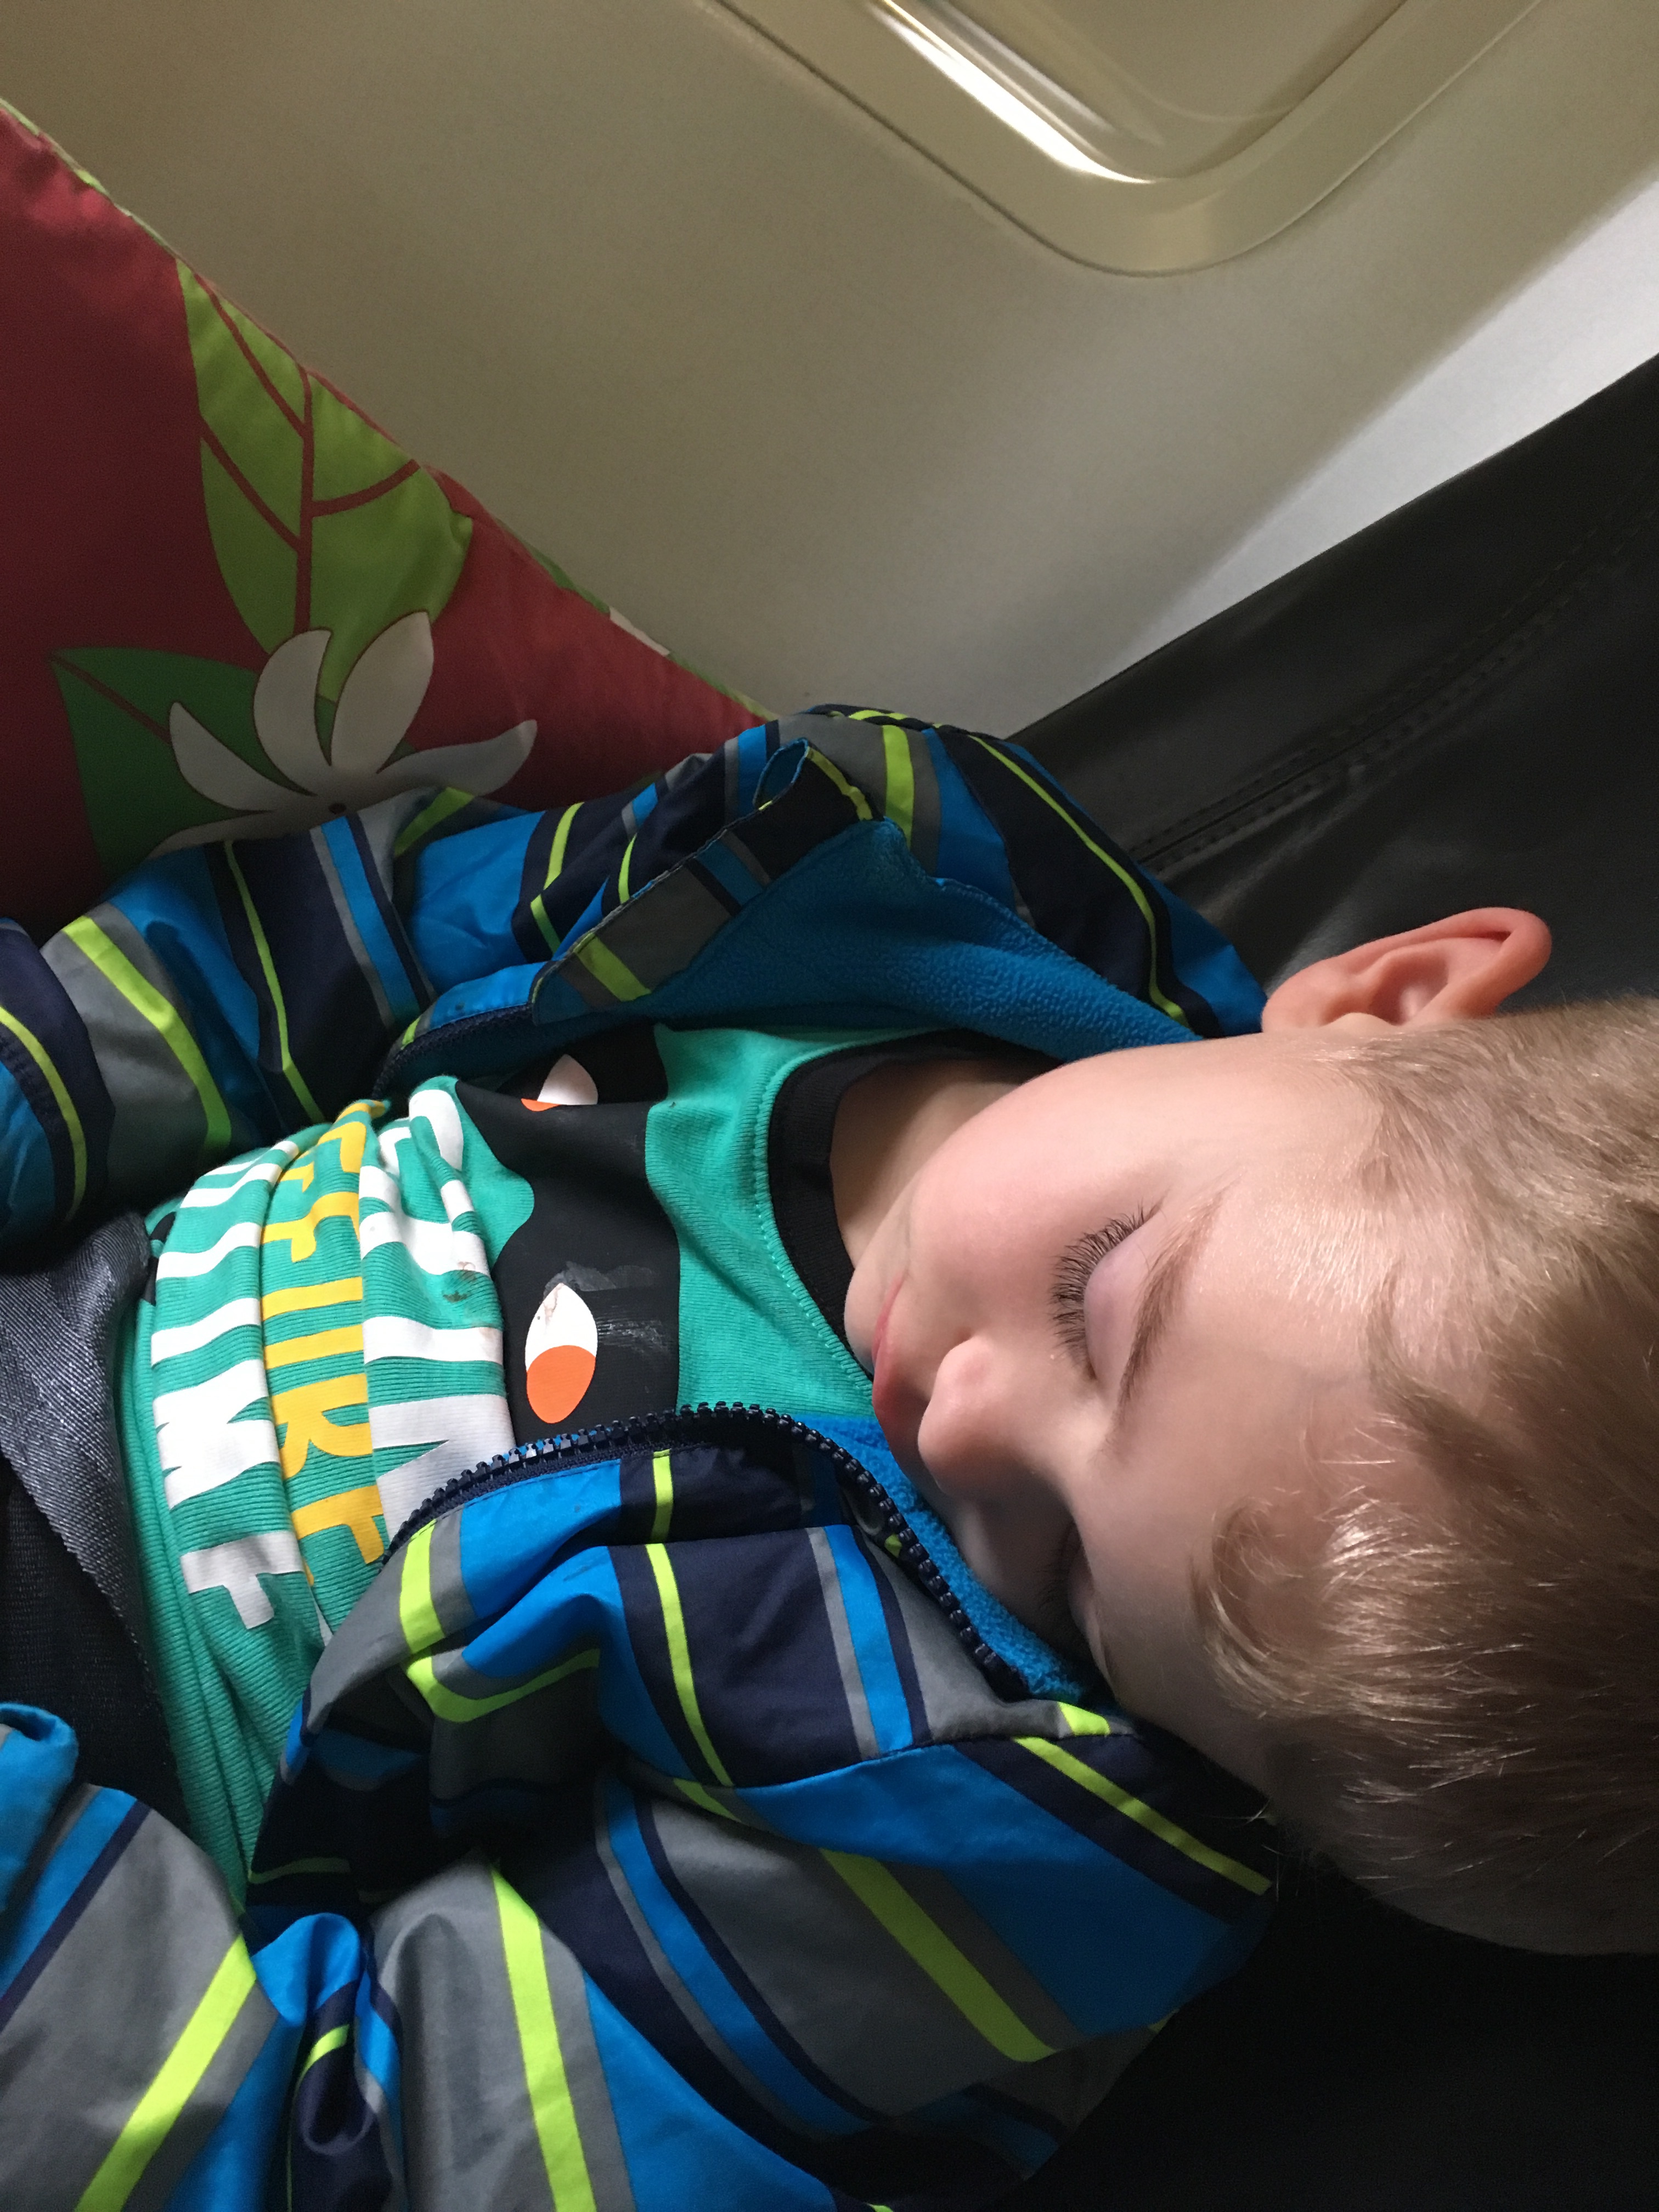
We tried the magic hours one night and wish we could have done them more! The lines were short -no fast passes needed. There was also not as many people in the park. We went from 11 pm-1 am at Magic Kingdom, so it was late. The kids lasted about an hour, because the park is closed they give you the strollers to use for free. We grabbed a double and the kids that were older but not able to hang feel asleep in the stroller. The adults all booked it to the must ride older rides. Each park has their magic hours at different days/times. Some were in the morning (we were not early risers with 19 people!) and some were in the night. Magic hours are a must if staying at a Disney resort!

Meal Plan

Not the Disney meal plan but the Shades of Green meal plan was a great deal and we didn’t have to worry about ANY of our meals. Breakfast and Dinner are included in the meal plan but they have stuff for sandwiches which we bought some sandwich bags and took with us to the park. Since Disney allows you to bring food into the park (no ice) we could pack snacks and lunch then be back before 9 pm to eat dinner. We did try one restaurant in Disney Springs and we were not impressed. We booked it 30 days out and they took 45 minutes to seat us and the food was not that good. We got seated in front of an aquarium which would have been find but the restaurant had a light show every 30 minutes and it was hard to see the show where we were at. The restaurant was cool with all the dinosaur scenery but for eating not the best and a little pricey. From that point on we were fine with the food at our resort. Shades rotated the type of food every day so you didn’t get the same meal. They even had cute interactive things for kids where they made their own cookie desert or face painting on Carnival night.

Take Away

We had a great time with the little ones but think it would be easier if all the kids could ride the rides. We would be able to do more and see more instead of waiting for each parent to do the parent swap at the same ride. 4-5 years or 42″ is a great age to see the characters, ride most rides and really enjoy Disney. A little older like 6-7 years or 48″ and you can ride all the rides so no need for parent swap. Whatever your plan the kids will love it! Happy Travels!

Stuck on the tarmac for 6 hours

Our 4 month old’s first flight and we are stuck on the tarmac in Seattle for 6 hours! My kids are champs though🙌 no fussing. Flight attendants said in 20 years of doing their job never seen such well behaved kids.

That’s right our babies first light which is only supposed to be a seven hour flight to our destination ended up being 13 hours. We were stuck on the tarmac for six hours in Seattle due to their first snowstorm. The pilot kept thinking we were going to take off, we would get de-iced and then something else would come up; the ice wouldn’t come off the airplane or we needed more gas because we are on the tarmac for so long. The flight attendants were joking and pretty amazing and actually all the passengers on a flight were in good spirits which made the time go by somewhat better. Now the worst part was we had a four-year-old and a four-month-old, how do you survive six hours on a plane that is not in the air, hence no noise with a four-month-old. Did I mention 3 out of 4 of us were sick? Good times! The four-year-old was pretty plugged into his Kindle fire but he did get a little restless asking when we’re going to take off, as we all were. The key to our success was taking a red-eye for our first flight we left at midnight so our baby slept that flight, on the second flight he was so tired from only sleeping three hours he just slept the entire time…. it was pretty amazing. Anytime our four year old got restless I reminded him how good he was doing and that once we got to San Diego he would get ice cream.

He was really looking forward to getting to the beach and eating ice cream so he settled down pretty quickly. The baby got hungry a couple of times so I just fed him and he fell back asleep. He woke up for a little bit and explored the in-flight magazine which is fun to grab onto. We finally took off after six hours and both the kiddos fell asleep, at that point our flight was only 2 1/2 hours from Seattle to San Diego. We landed in San Diego and the flight attendants announced over the loudspeaker that they would like to thank the parents that endured the time and had such well behaved and kids, in the 20 years of being a flight attendant they never seen suck well behaved kids they were amazed, everyone on the flight applauded us.

Once we got to San Diego we were missing a car seat. Wonderful because if you have kids you can’t go anywhere without a car seat. We spoke with the airline and they gave us a brand new car seat that we did not have to return. We ended up getting our car seat and missing stroller the airline met us and delivered it to us. This point we were not getting any compensation for the six hour delay. My husband emailed the airline explaining the situation and how we had to pay extra for a rental car since rental cars do not allow for any time leeway on picking up or dropping off beyond a two hour period. The airline wrote us back and gave us miles plus certificates for each of us towards the next flight.

img_7641

Don’t worry we kept our promise and got that ice cream!

Exploring Kauai with a Toddler

An island full of trails and adventure, is there anything you can bring your toddler on? We did! Before we arrived we looked online at the tours and most of them required kids to be at least 5 years old, we are not waiting 2 years to have some adventures so off we go!

First stop the train, hike and lunch tour at Kauai Plantation Railway. This is a great tour for kids as you get to feed some livestock and get lots of different fruits to try in the orchard, our sons favorite part. There was a train ride at the beginning and end of the tour and a short muddy hike in the jungle where the tour guide shows different plants and trees. Make sure to bring shoes that have gripping soles and grab a walking stick when they offer especially if it’s raining like it was when we went. They do offer ponchos if you don’t bring a rain jacket. Lunch is served right after the hike so it keeps crankiness at bay for kids and adults. Then its off to the orchard where you try many different varieties of citrus and can even take some to eat later. Finish off with a short train ride back to the plantation where you can checkout the mansion and grounds before leaving.

Kauai coffee a great trip for parents and kids alike. They have 4 free guided tours a day or you can walk on your own. Free samples of many different varieties of coffee including decaf, shop, museum and a cafe that serves kid friendly fare- hot dogs and ice cream.

Anaina hou community park is a great place to spend an afternoon and if you go on Wednesday or Saturday you can checkout the farmers market. They have mini golf, a botanical garden, playground and lots of chickens.

Po’ipu Beach is the perfect spot to spend a sunny day. With great snorkeling for the adults, turtle sightings, playground and a beach with low waves you can’t go wrong. If you in the area a stop to the spouting horn is a must, this way one of my sons favorite sites.

Take a drive up to Waimea Canyon. Breathtaking views from many viewpoints up the mountain. Be sure to go all the way to the top to see Pu’u o Kila lookout. Bring snacks as this drive takes a bit to go all the way to the top. There are trails at the viewpoints if you are feeling adventurous, some can be quite the trek.

Take a drive up north to Princeville where you can see the Kilauea lighthouse, Maniniholo dry cave which is across from Ha’ena beach park, ke’e Beach and Hanalei valley lookout. The north is usually rainy so be prepared. If you drive north you should make a stop at Jojo’s shaved ice-a crowd pleaser and you just need one to share they are so big!

There are so many beaches, trails, and sites to explore on the island of Kauai. Not to mention the great places to eat including Bubba Burger, JoJo’s Shaved Ice, Puka Dog and Chicken in a Barrel to name a few. We are excited to take another trip to see more and experience some of the tours for kids 5 and older. No matter your age Kauai is an island of adventure, beauty and yummy food. Mahalo and Aloha!

10 things an Alaskan mom would say

I thought I would do a fun short post and list 10 things I have said as an Alaskan mom that mom’s in the “lower 48” may not have had the pleasure of saying to their kiddos.

10 things only Alaskan moms would say:

  1. Don’t eat the yellow snow
  2. Watch out for bears
  3. We don’t have snow days we have cold days -50
  4. No flip flops in the winter
  5. Put your boots in the arctic entry
  6. Wear snowpants under your Halloween costume
  7. You’re going to get cabin fever
  8. We’re going to the lower 48 for winter break
  9. It’s breakup!
  10. Wait for your PFD

What have you said to your kids that moms from other places may not have said?

Ten things to do with kids in Fairbanks, Alaska

Ten things to do with kids in Fairbanks, Alaska

The second largest city in Alaska may lack in shopping and scenery but has plenty of things for kids to do. Home of the midnight sun the Golden Heart city, Fairbanks, has plenty going on at all hours during the summer. From the midnight sun festival to the midnight sun run kids of all ages can enjoy summer in Fairbanks, Alaska.

  1. Visit Santa Claus

The Santa Claus house in North Pole, Alaska just a 20 minute drive from Fairbanks is a must see when visiting. You can’t miss it when driving by as a 42 foot tall Santa Claus stands at the entrance to the Santa Claus house. Inside you will find reindeer, gifts, and of course Santa Claus himself ready to hear the Christmas wish list.

  1. Pioneer Park

Pioneer Park formerly known as Alaska Land to long time locals has a variety of activities for kids to partake in including the Pioneer Air Museum, mini golf, playground, ice cream, train rides and they can even feed the local ducks.

  1. Chena Lakes

Chena Lakes located outside Fairbanks in North Pole has plenty of outdoor fun. There is a playground, beach area for kids to swim in the lake, volleyball net, nature trails for hiking or biking, fishing, camping and non-motorized boat rentals.

  1. Tanana Lakes

New to the scene in Fairbanks Tanana Lakes is a up and coming park. With most activities revolving around the lakes; there is a motorized lake for boating and a non-motorized lake for floating, canoeing and swimming. They have a picnic area with barbeques and in the works is a music area for kids and a playground.

  1. North Pole Park

In North Pole there is a children’s park located down Santa Claus lane that not only has playground equipment but musical instruments for kids to play with.

  1. Children’s Museum

The Children’s Museum has plenty for kids to do. There is a entrance fee of $10 but once you get inside you can’t get your kids to leave. They have educational items such as microscopes,

  1. Romper Room

Romper room is a  great place to beat the rain. Romper room has indoor bounce houses that they change out every month for the kids to jump around on. There are usually 3-4 bounce houses up with slides, ball pits, obstacle courses and more. The entrance fee includes a new pair of socks which you get to keep.

  1. UAF Museum Family Day

A learning experience for kids University of Alaska Fairbanks (UAF) Museum Family day happens once a month on a Saturday. Topics change each month and can range from space to fossils. Check out the UAF Museum page for more information.

  1. Creamer’s Field trails

Borealis Forest trail is a good easy hike to go on with kids it’s only a 1 mile loop and has a lookout about halfway through the trail. You can take side trails as well to see more ponds, ducks, moose, cranes, and owls.

  1. Attend local events

Depending on the time of year you visit Fairbanks, there is plenty of festivals and events going on that are kid friendly. The Midnight Sun Festival held June 21st each year has local vendors (making things from crafts to food), rubber ducky race, and kids games.

Fairbanks is a great place to visit with your family. There are also many lakes, hiking trails, and so much more to see.

South Carolina Tours

Old Town Trolley Tours in Savannah, South Carolina was a blast! If you haven’t been to Savannah, it is a must do to learn about American history and explore a beautiful city. The city of Savannah is literally the city built on bones. It is eye opening to hear about the start of our country the civil war and sickness that plagued the first settlers not to mention the roaring 20’s and all that came with that time period. To learn more about Savannah’s history we did the hop on/off tour the first day we got there and really enjoyed it. Teri Love was our first tour guide and we rode the trolley without getting off the first time through; she was hilarious and knowledgeable. We learned about all the movies filmed in Savannah including, “Forest Gump” and “Midnight in the Garden of Good and Evil.” There are stops along the tour that actors hop on and tell a story about a historical figure and what happen in that time period. When we got off and back on we had a couple tour guide but Eddy finished up our tour and he was a history buff, he was very informative and had a good voice for the tour. We learned different historical facts with each of the guides which was nice that they all had their own area of expertise.

The next day we decided we wanted to go on the Grave Tour (ghost tour) with Old Town Trolley again which included dinner at the Pirates House. To eat at The Pirates House you must have reservations (as with anywhere in Savannah). It was a buffet style dinner and they had us in a separate room all together as a group instead of in the regular dining area. It was good southern food and after our meal we continued our tour to the rum cellar which was creepy. The Grave Tour gave us a different side of Savannah, the less known side including all the murders, deaths from the war and underbelly of the city. It was good historical information and not over the top with ghostly things.

Overall we had a good time. We did all this with our 2 year old who seemed to enjoy it all and waves at the trolleys now.

Flying with a baby, oh my!

You walk on the airplane and start getting the “looks,” some sympathetic, some doting, and the all-time favorite “oh great a baby on the flight.” Traveling with babies and toddlers can be frustrating. I wrote a book with tips and tricks for parents traveling with babies and toddlers called, Flying With A Baby, Oh My! This book is intended to help new parents or those new to traveling with kids to make the process a little easier. I hope that all our traveling experience can assist you in your travels. Let’s get packing!

Updating an Old Swing Set

I put a posting on craigslist that I was looking for a swing set. It is very hard to find a good deal on swing sets where I live. I was fortunate to get a response from a seller who only wanted $50 for the swing set, he threw in the radio flyer for free (which I also painted blue)! The swing set was faded and dirty. I liked the colors on it of blue and yellow so I just decided to freshen it up with a little spray paint, new chains and a toddler swing. I found a spray paint that adheres to plastic for $3.85 at Walmart.

img_9158
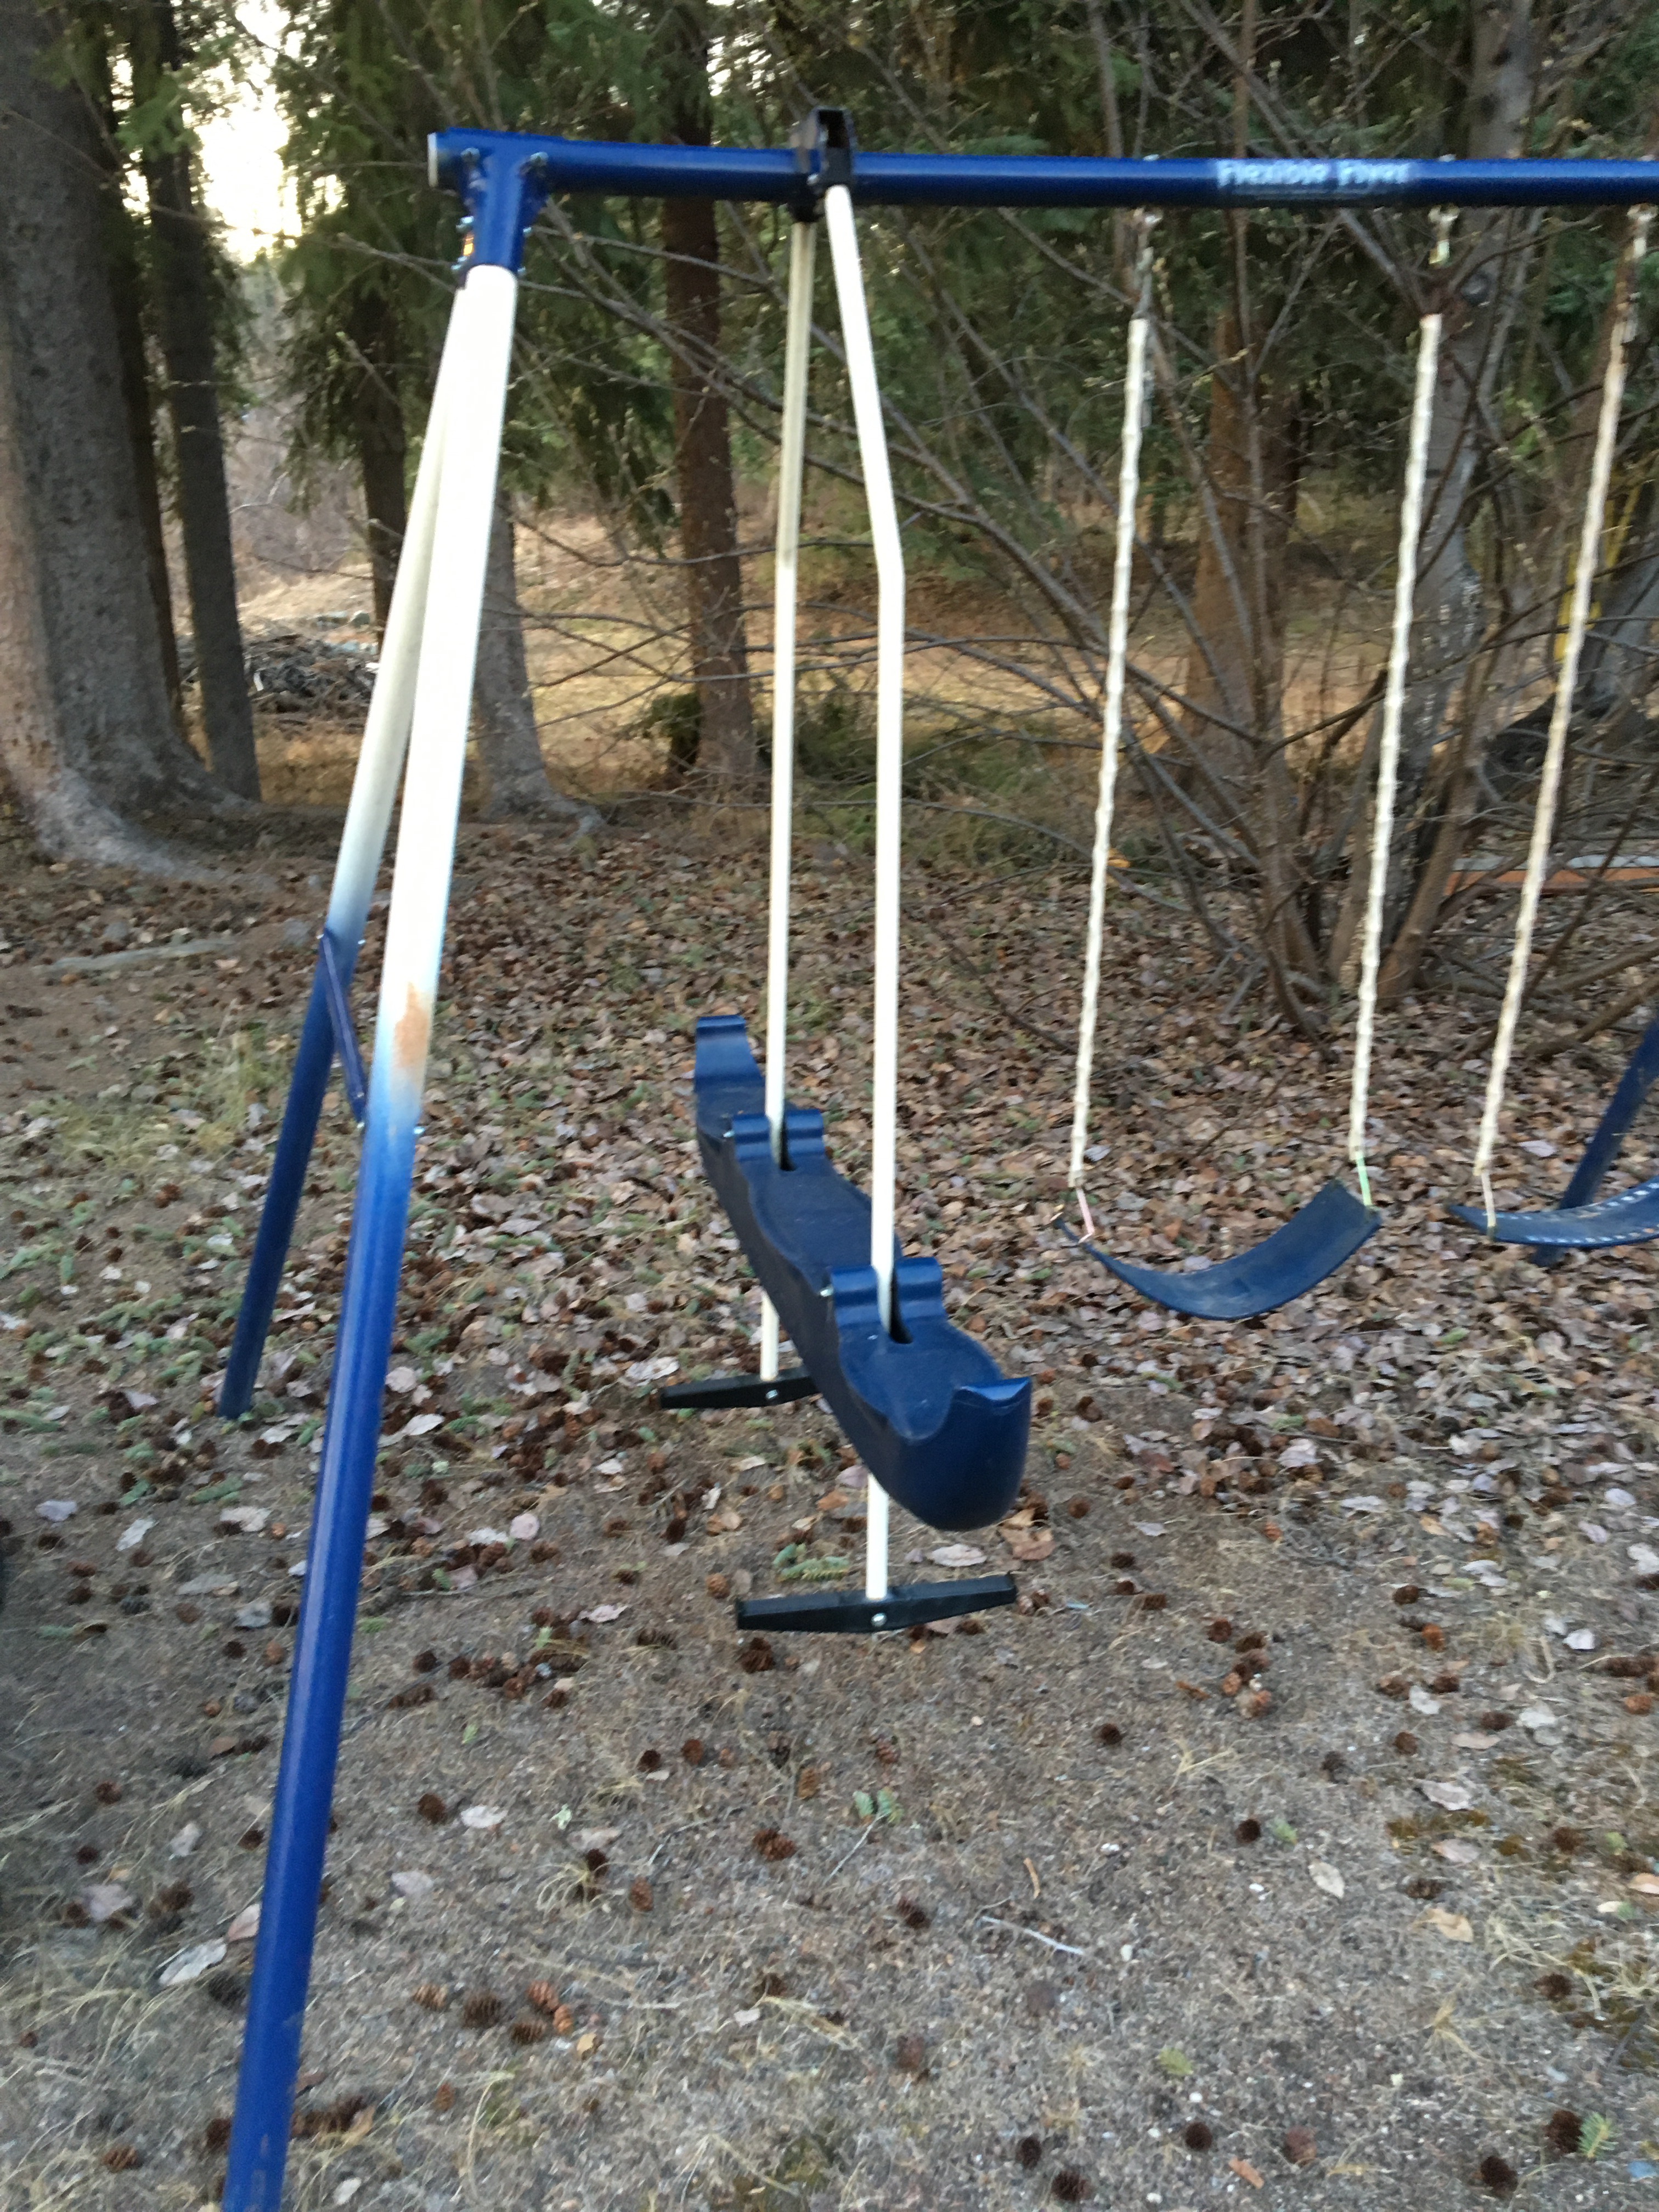
I needed 2 can’s of yellow. I didn’t paint the navy blue since it appeared to be in decent shape. There was some rust on the poles where the pale yellow color was. The slide and bench swing were faded as well.


First step, wash off the swing with a garden hose and soapy sponge. It looked a lot better just after a cleaning.

Next, I removed the slide, swings, and teeter totter.

The slide easily came apart from the steps so no taping required. I sprayed the slide yellow on the front and after an hour got the top half of the back of the slide.

After the slide got the front half sprayed I moved on to the top part of poles which I wanted yellow. And the poles for the teeter totter.

The next thing to paint yellow was the bench swing, this was more difficult to removed so I just taped the poles.

 
At this point all the yellow spray painting was complete in a matter of an hour!

I got a plastic coated yellow swing set chain from Home Depot for $0.79 a foot, I needed 4 ft per swing’s side so 8 ft total per swing. I was removing one swing and adding a toddler swing so I only needed enough for two swings at this point. I had to use bolt cutters to remove the old rusted chain which was wrapped in rubber from the swing seat.


I ordered the toddler swing from Amazon for $19.95 which was easy to put up. Below is finished product. And the painted tricycle!

IMG_9232IMG_9231.JPG


Painting Playhouse

I got an older playhouse off craigslist for $25, it was in desperate need of a cleaning and a spray paint job. I thought the colors red, white and blue would look nice. I was planning on a red door, blue shutters, brown roof and a white house.


I found a spray paint that adheres to plastic for $3.85 a can 
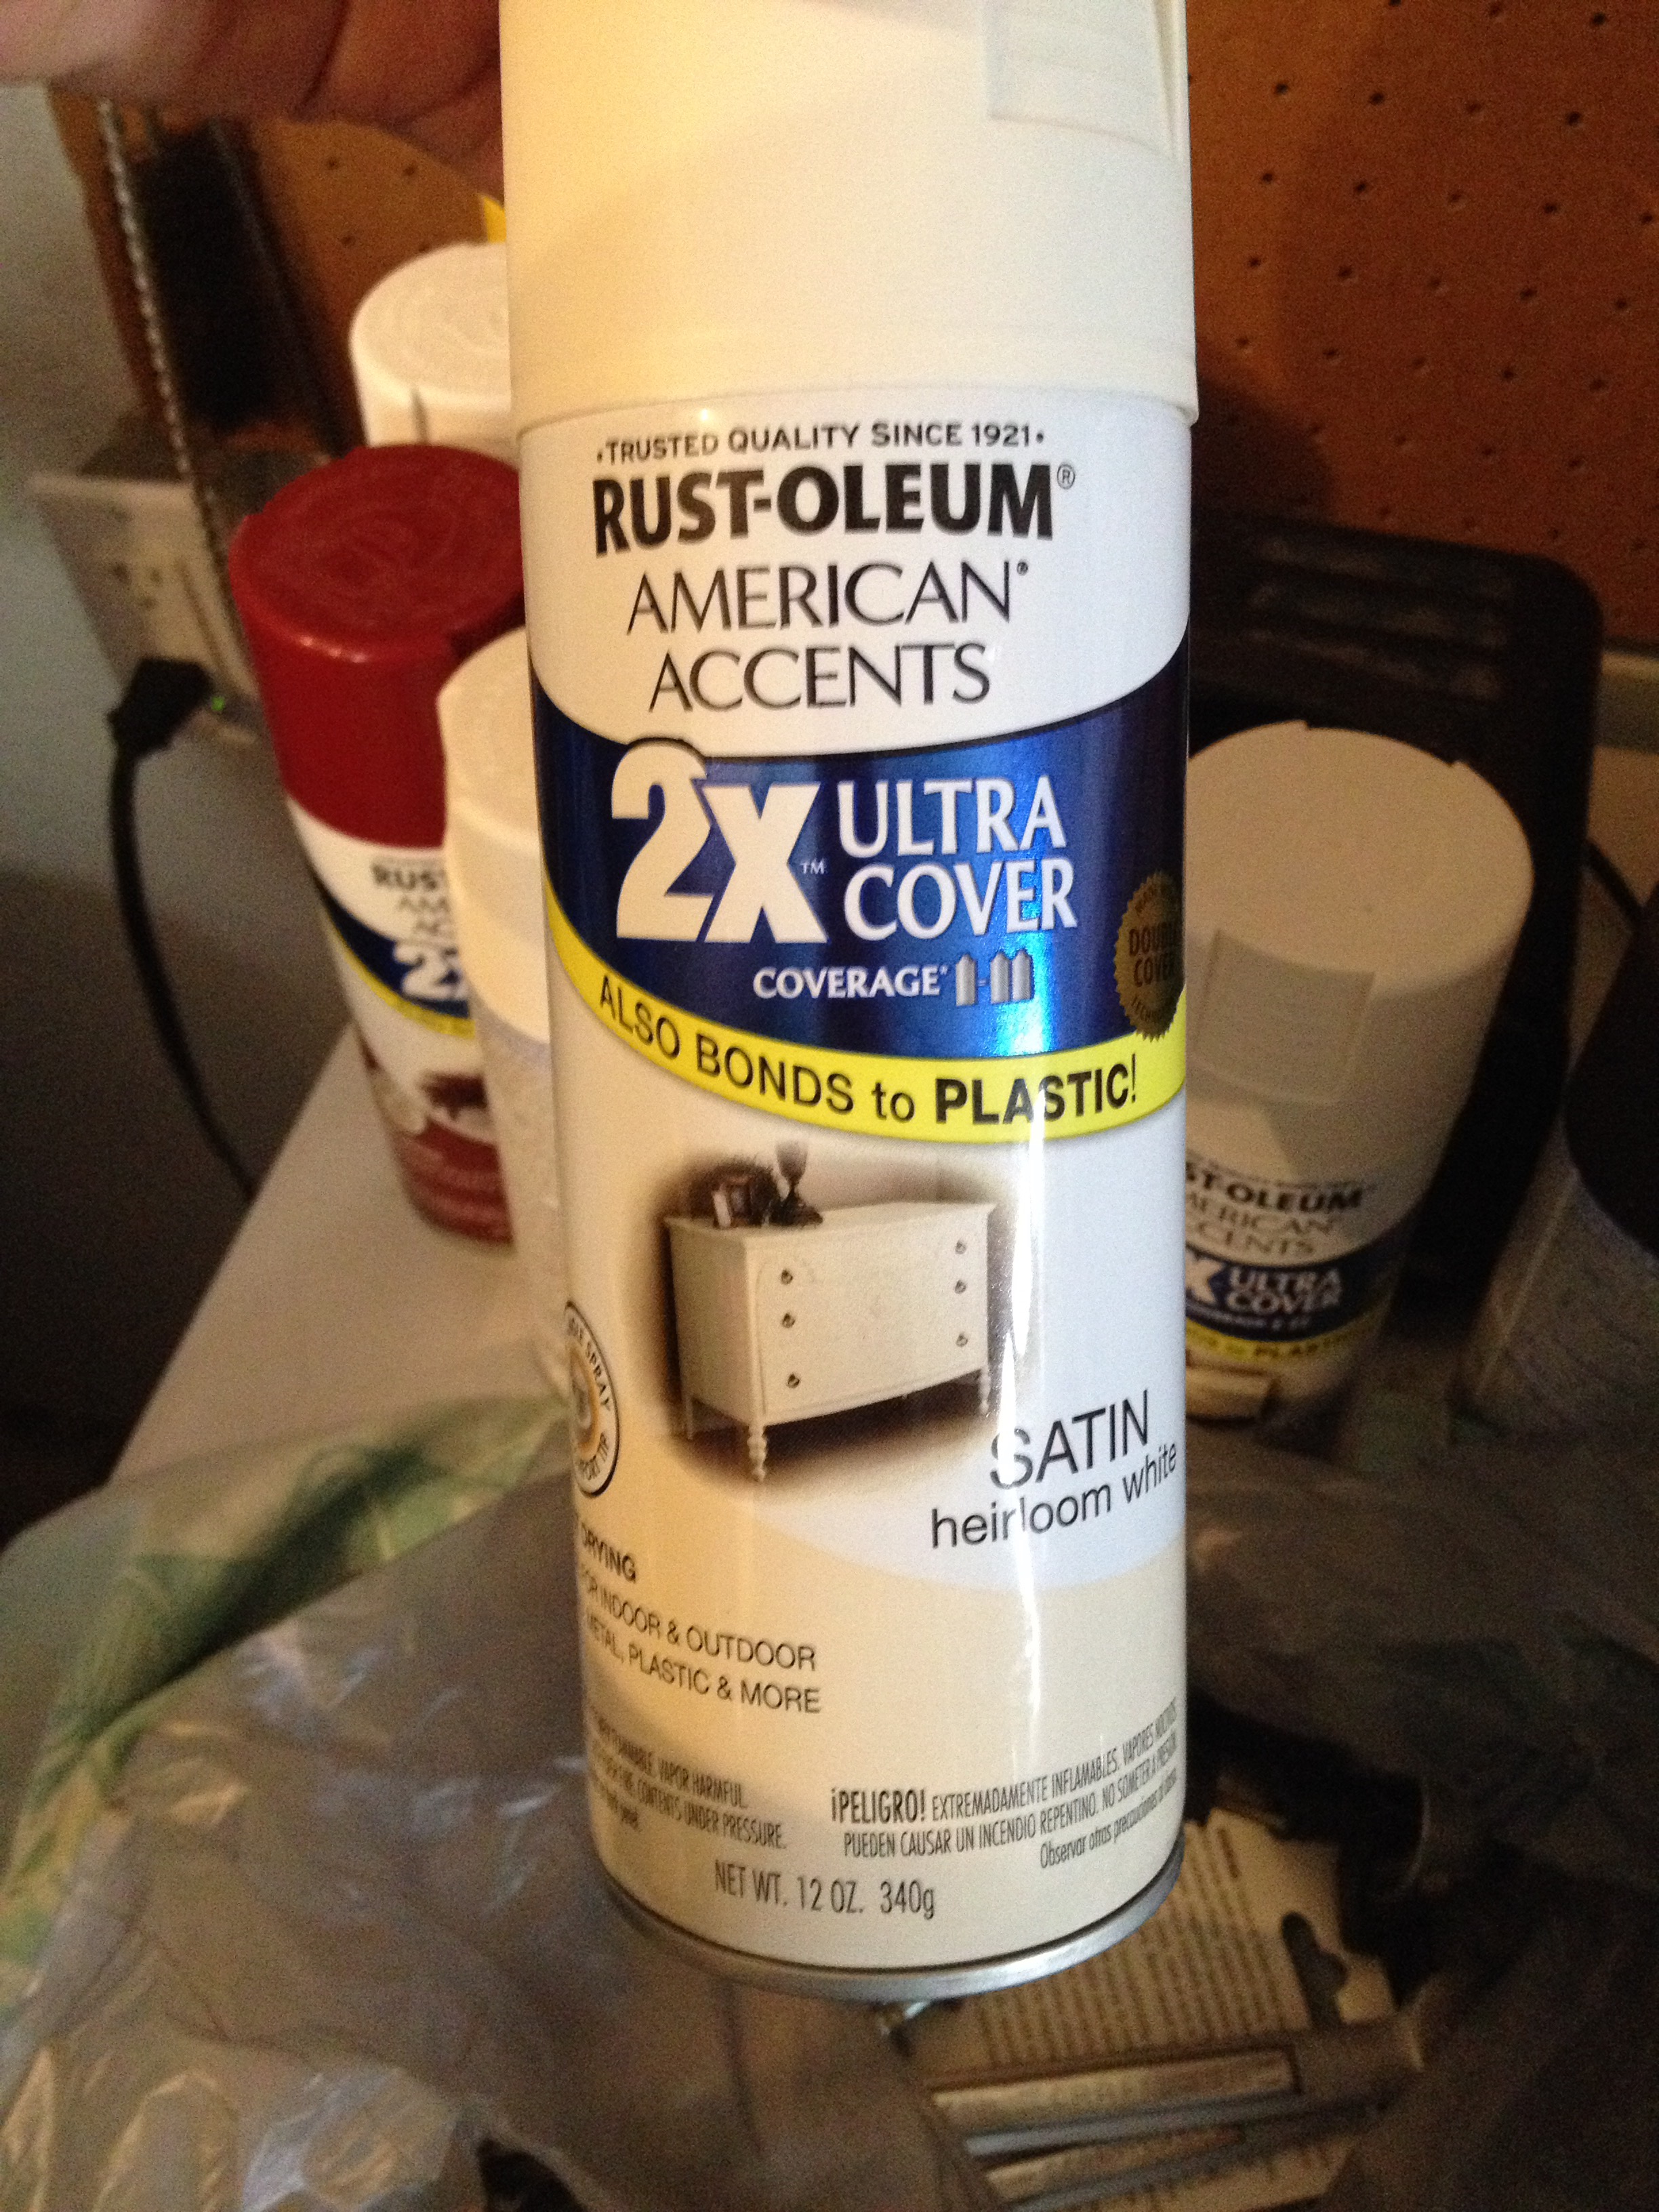
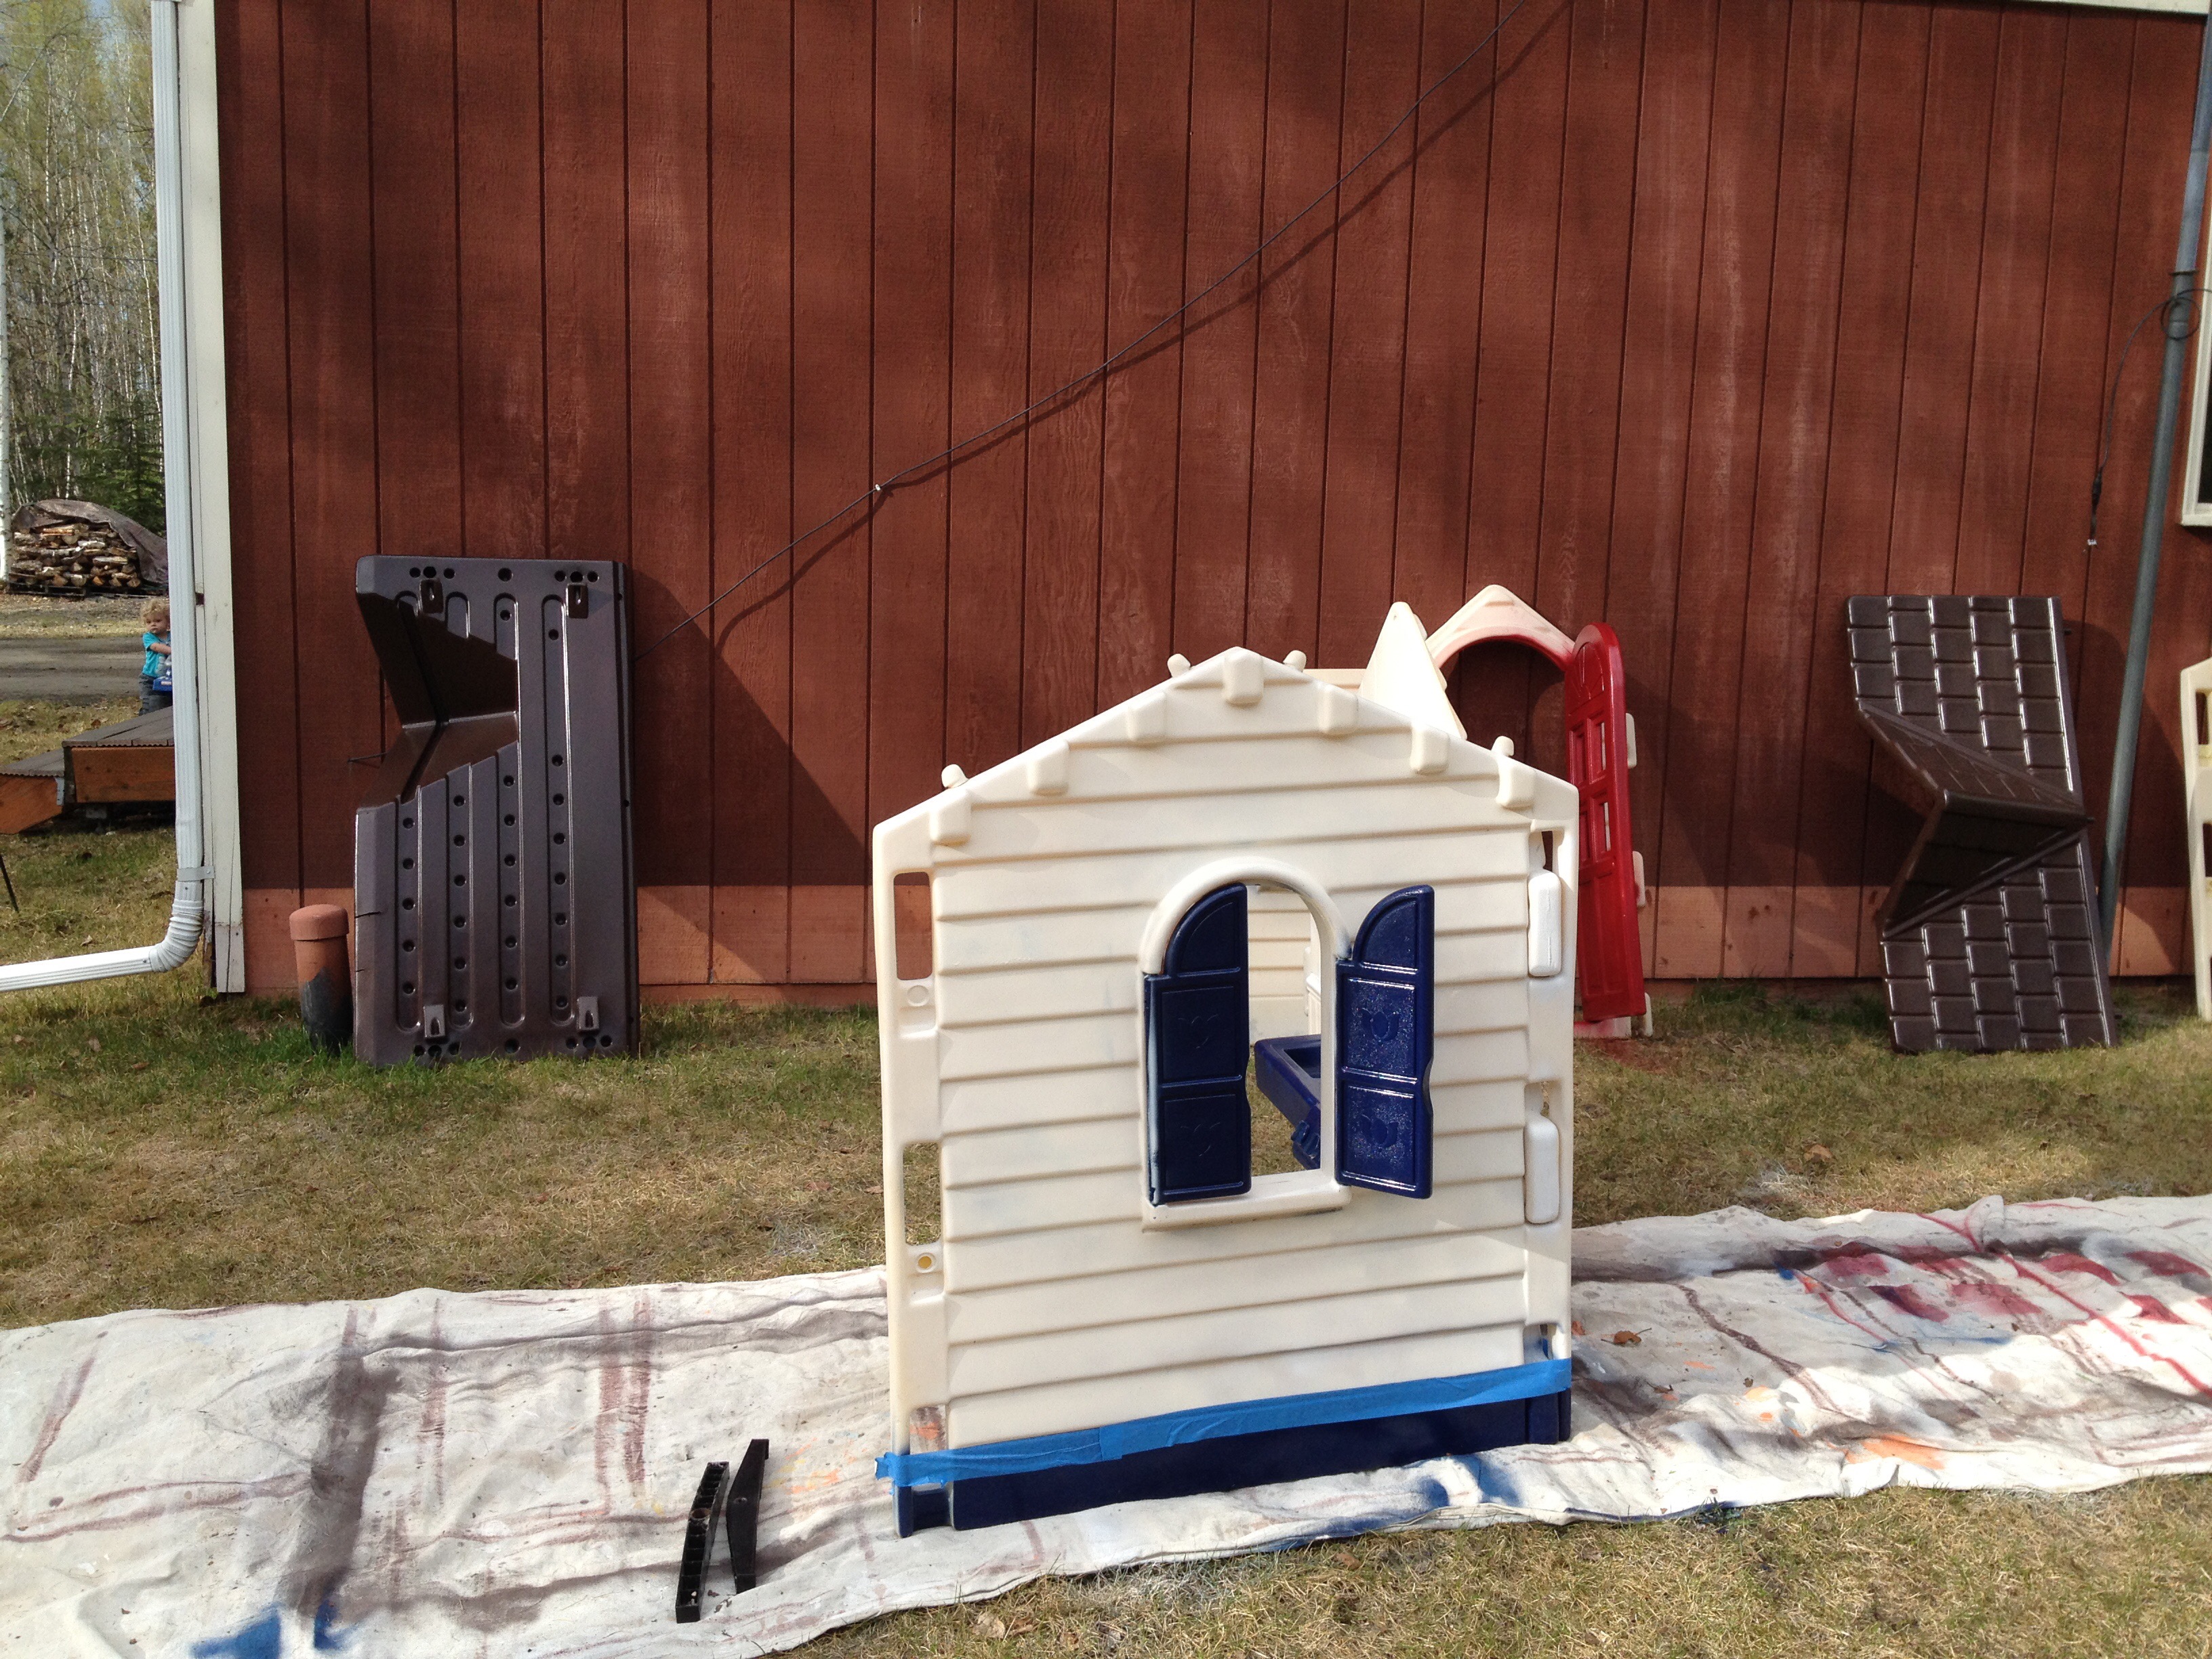
at Walmart. I needed 1 can of red, 1 can of brown, 2 cans of blue and 4 cans of white.

The playhouse came apart pretty easily with the exception of the sides connected to the sink and taking the shutters and door off. We were afraid if they came off they may not go back on so we left them on and just taped around the areas we didn’t want painted.

First step, wash the house off with a hose and a soapy sponge to remove any dirt. The roof was very easy to paint. It dried to the touch in 20 minutes outside and in an hour you could flip it over and paint the other side.


Second, I painted the shutters, sink and door since I figured if I got any of the paint on the white it would be better trying to cover it up when I painted the house white then trying to fix it after I painted the house white. I removed the door handle, sink faucet and burner decals ( which easily removed and could be put back on).


Thirdly, I wanted a blue stripe at the bottom of the house so I taped off how high I wanted the stripe and painted the bottom.


Fourth step, I sprayed the faucet handle and door knob both white.

After the shutters, door and sink were dry I taped and used old newspaper to cover shutters, sink, bottom stripe and door. Then started on the time consuming white spray painting of the rest of the house. This needed two coats where I could get away with one coat on the other colors. With wait times and just needing a break from spray painting it took two days to complete this project. You could easily finish in one day if you wanted to get it all done since it dries relatively quickly. Lesson learned: use a lot of painters tape if you do not take apart, some spray paint got on the white and was hard to cover. Below is the finished product, you can see some areas where the spray paint got through but overall it looks a lot better. Plus my son couldn’t care less about the paint, he loves it!

Card book tutorial

IMG_5333
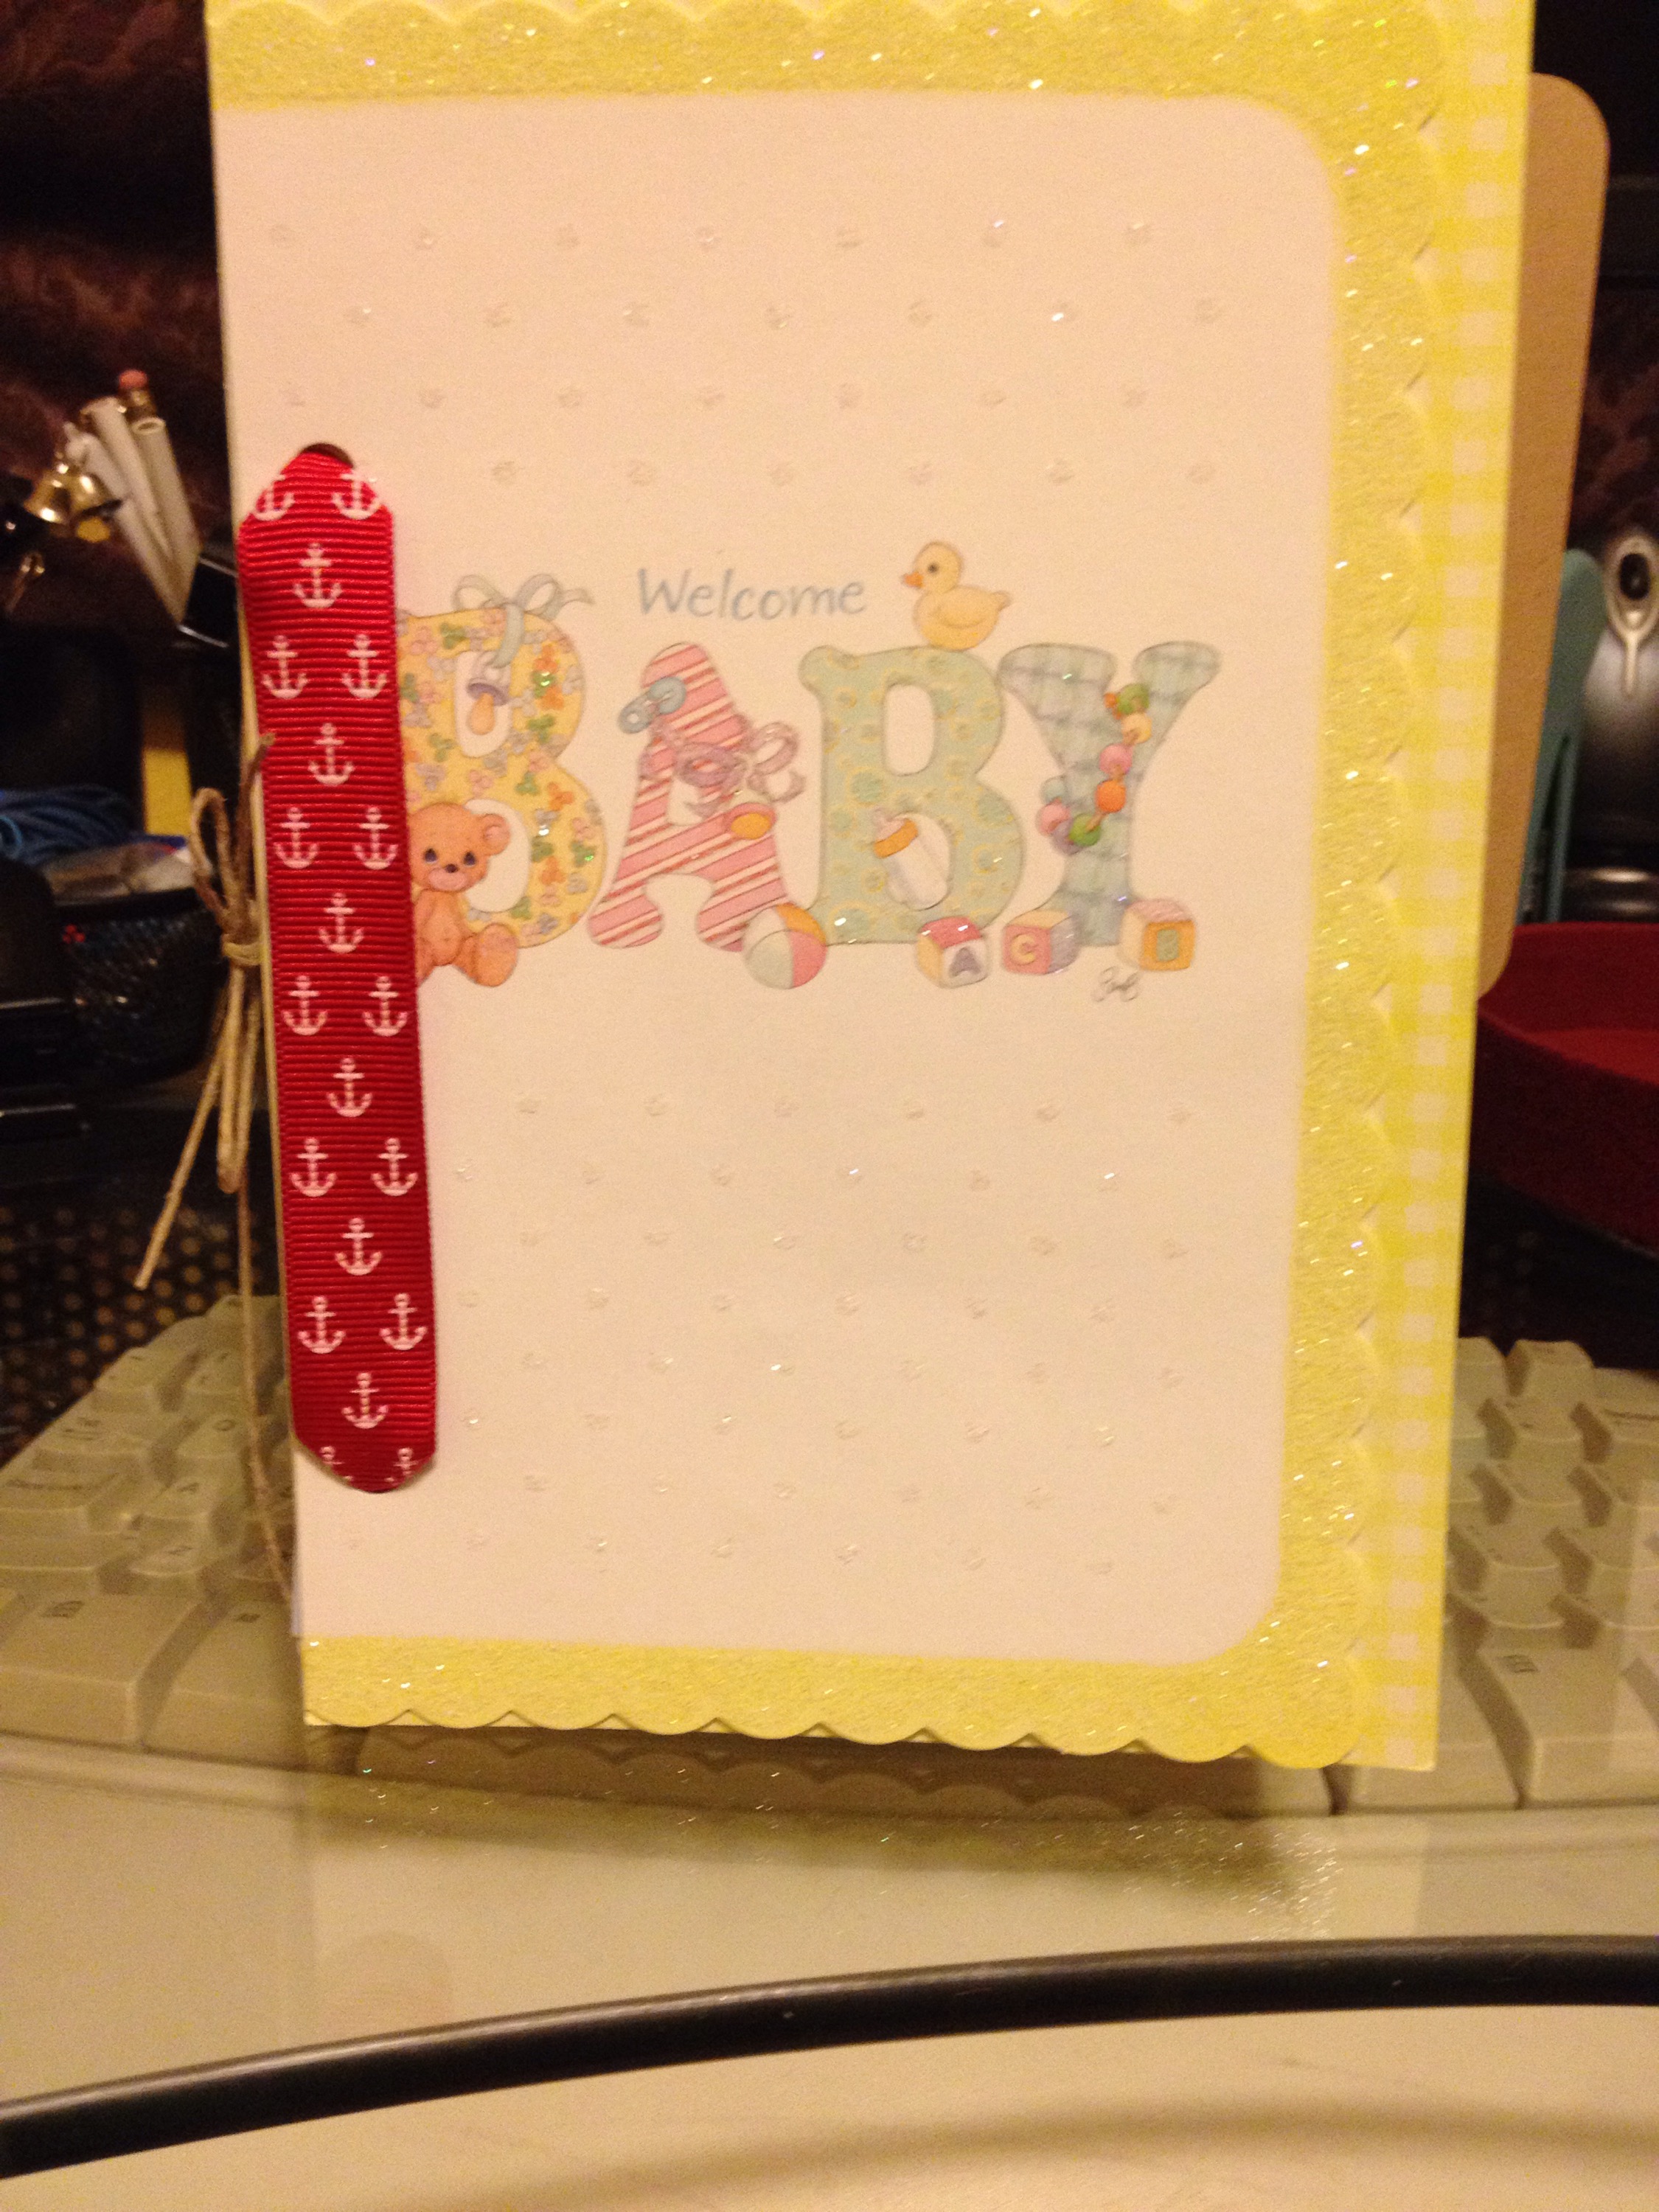
If you have a collection of cards like I do and want to keep them. I have a solution for you instead of them just taking up space in the bottom shelf in that old shoe box. I got a lot of baby shower cards for my son and wanted to have a nice way to display them and pass onto him when he has a family. So I decided to make a card book. You can do this with any collection of cards for example make an anniversary card book, birthday card book, Christmas card book, etc.

IMG_5326

Step 1- I had to get all my supplies together; scissors, long enough ribbon to go around cards twice, 3 hole punch and the cards of course.

Step 2-I arranged the cards in a order and threw out all the envelopes. I picked a pretty card for the front cover and a larger card as the back cover.

IMG_5332

Step 3-3 hole punch the cards. I used a 3 hole punch because then all the cards would be lined up whether some could only fit one hole, most fit 2 out of the 3 hole punch. I made sure to punch the holes at the fold of the card so that they could still open.

IMG_5331

Step 4-Cut the ribbon in a point, so that it will go through the hole easier. Don’t worry if the ribbon gets frayed you can always cut that part off after your done.

IMG_5330

Step 5- put the ribbon through each cards bottom hole. I started with the card I want in the back so that I can tie the cards in the back when done.

IMG_5325

Step 6-Once all cards have ribbon in the bottom hole, put ribbon through the top hole.

IMG_5334

Step 7-Tie the ends together and cut any frayed ends off.

IMG_5335           IMG_5336

Step 8-Enjoy your card book!